How to Edit Your Self-tape?
Let’s look at options to get you started in the right direction.
What is the best editing software for self-tapes, demo reels & branding video?
Firstly, I understand that for some actors and new content creators, this can be a frustrating task when you’ve never done it before. I see many people struggle with editing.
To be quite frank, in order to have a successful career in the entertainment industry you will need to hone in on your editing skills, even if it’s just to learn the basics.
In this article we will delve into some free tools, and then cover my best pick for an easy editing software for not just self-tapes but also editing demo reels and creating pro level videos.
About Self-Taping
Self-tapes for film and television should always be presented in a horizontal format, not vertical like a lot social media platforms want. Many people just use their cell phone on a tripod in landscape with a microphone to give the best sound. The only exception to the horizontal format is if the casting breakdown instructs otherwise.

When you have completed taping your slate, body profiles, if requested, and your read then you can either edit right from your cell phone or import the video file to your computer. I always use my computer because it’s a bigger screen and I want to get the edits perfectly right.
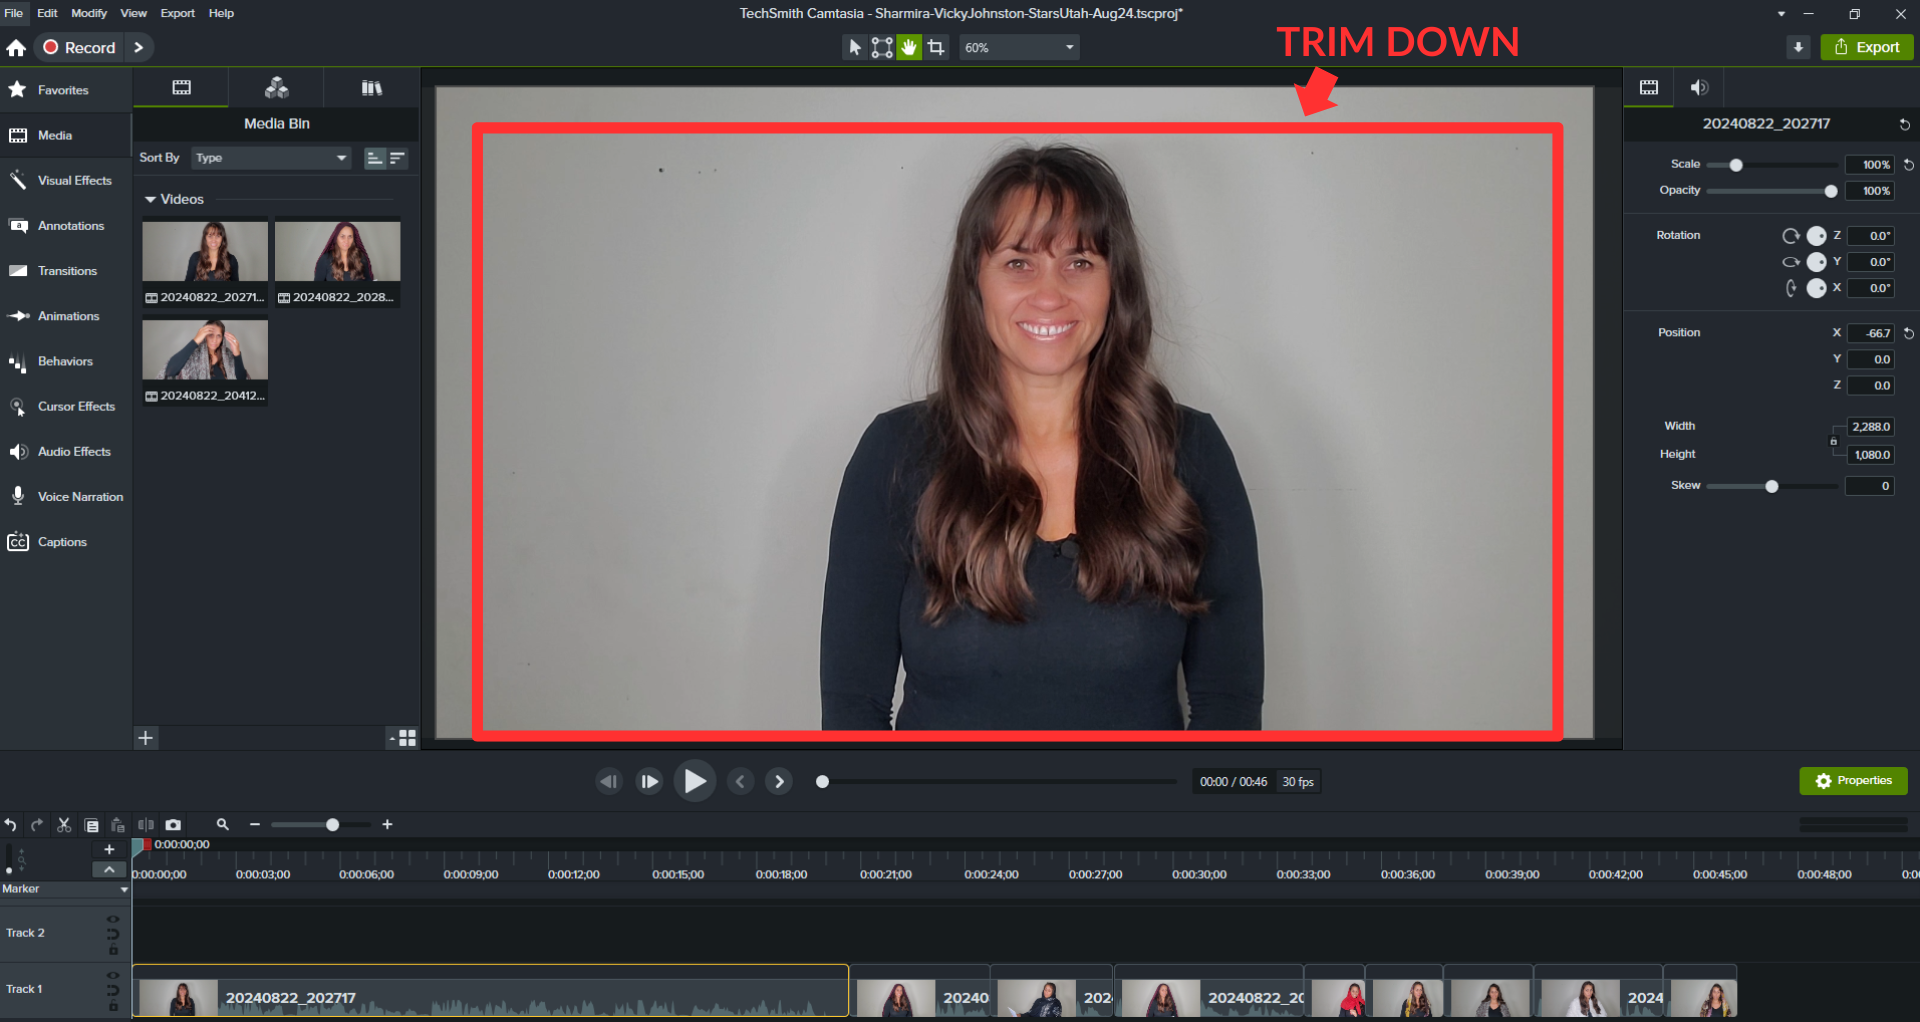
You should always trim the beginning and end of your video so the casting director does not see you pulling away or toward the the camera when pressing record. You should also crop your video at the top but keep the ratio frame the same (1980px x 1080px).
Only crop the video frame down if there is space showing above your head. You can avoid cropping by simply framing yourself well during your self-tape. You are the main focus and the casting director does not need to see the background above you. Always be thinking how can I come across as a pro. This reduces any doubt in the casting directors mind. So make your self-tape look pro level. Cropping in will also bring you in for a tighter shot. I mention the cropping because as a casting director I see self-tapes with too much background when I prefer to see more of the actor.
Most actors will slate at the beginning and go right into their read. If you have recorded several takes before you feel you have your best one, you’ll need to trim your slate then cut to where your best take is and trim the end of your performance. After that you will export it as an MOV or MP4 file format in 1080p or 720p resolution. I know some casting websites prefer you use 720p because it is a smaller file, but of course this will be at the cost of a lower quality video render, so use your descretion.
When I send out a casting breakdown I may request that the self-tape be uploaded to a video sharing site like YouTube or Vimeo but it needs to be marked as ‘Unlisted’ – not private, because I can’t view it and nor can the client. I suggest not making your auditions public either because most casting and the scripts used for auditions are confidential and they are protected by copyright laws.
After you have uploaded the video to Youtube or Vimeo, it’s the share URL that you will use in your submission to the casting director. Only use this method if the casting director asks for it this way. Other casting platforms will have you upload the actual video file or suggest you use a transfer app like Wetransfer. Always follow the casting breakdown instructions as casting director have their systems set up in a way that is effecient for them and the client.
(I will cover how to self-tape correctly and what a casting director is looking for in another post.)
Free Editing Tools
In today’s fast-paced, digital world, actors need to be able to produce high-quality self-tapes and demo reels. Whether you’re submitting auditions or showcasing your talents on social media, great editing can make all the difference. But what if you’re on a budget? Let’s explore some fantastic free editing software to get you started.
Free Editing Software for Actor Self-Tapes and Demo Reels
If you’re just getting started, there are a variety of free editing tools that can help you create professional-looking self-tapes without breaking the bank. As with anything free there will be some limitations with these tools, but the basic features will allow you to edit your self-tape easily.
1.
iMovie (Mac)
Easy-to-use professional video-creating tool.
- For Mac users, iMovie is a fantastic option. The lastest Macbooks may come with it pre-installed. It’s free, intuitive, and perfect for basic edits like trimming clips, adjusting sound levels, and adding simple transitions. It also supports high-resolution video, so your self-tapes will look sharp and professional. iMovie is user-friendly and ideal for actors who need quick edits to submit audition tapes. Watch this video from Kristen Henry King who explains how to edit your self-tape using iMovie. She’s fantastic!
2.
Windows Video Editor (Windows)
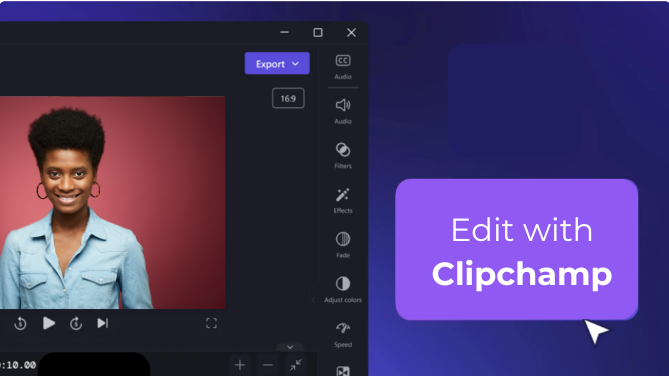
The official Windows editing software is called Clipchamp
-
I’m a Windows user and I started with Windows Movie Maker before they changed the name to Windows Video Editor. In 2013 they released their latest video editor Clipchamp. This free tool allows for simple cutting, trimming, and text overlays. While not as feature-rich as some other options, it’s enough to polish your self-tape and get it ready for submission. If you’re in a time crunch, it’s straightforward and easy to use but if you need all the flashy features then you can upgrade to their pro version: CLICK HERE TO LEARN MORE
3.
Capcut:
One of the best online video editor to create videos free!
- CapCut has a free editing app that you can use on you Mac, PC or mobile device. If you just need basic editing such as clipping and trimming your videos at the beginning and end, then the free version is all you need. Capcut is widely used by many content creators and on social media platforms. The main limitation with Capcut is the online storage limit with the free version (1 GB). CLICK HERE TO LEARN MORE
4.
Canva Video Editor
Free and easy to use editing tool for short self-tapes.
- Canva is an onine editor that is great for dropping in your clips and doing basic edits, crops and cuts. You can record your audition right off your mobile device or laptop. I absolutely love Canva and they are world leaders in graphics, digital and media design.
Here is a great little video from Justin at Primal Video with how to edit using the Canva free tools.
5.
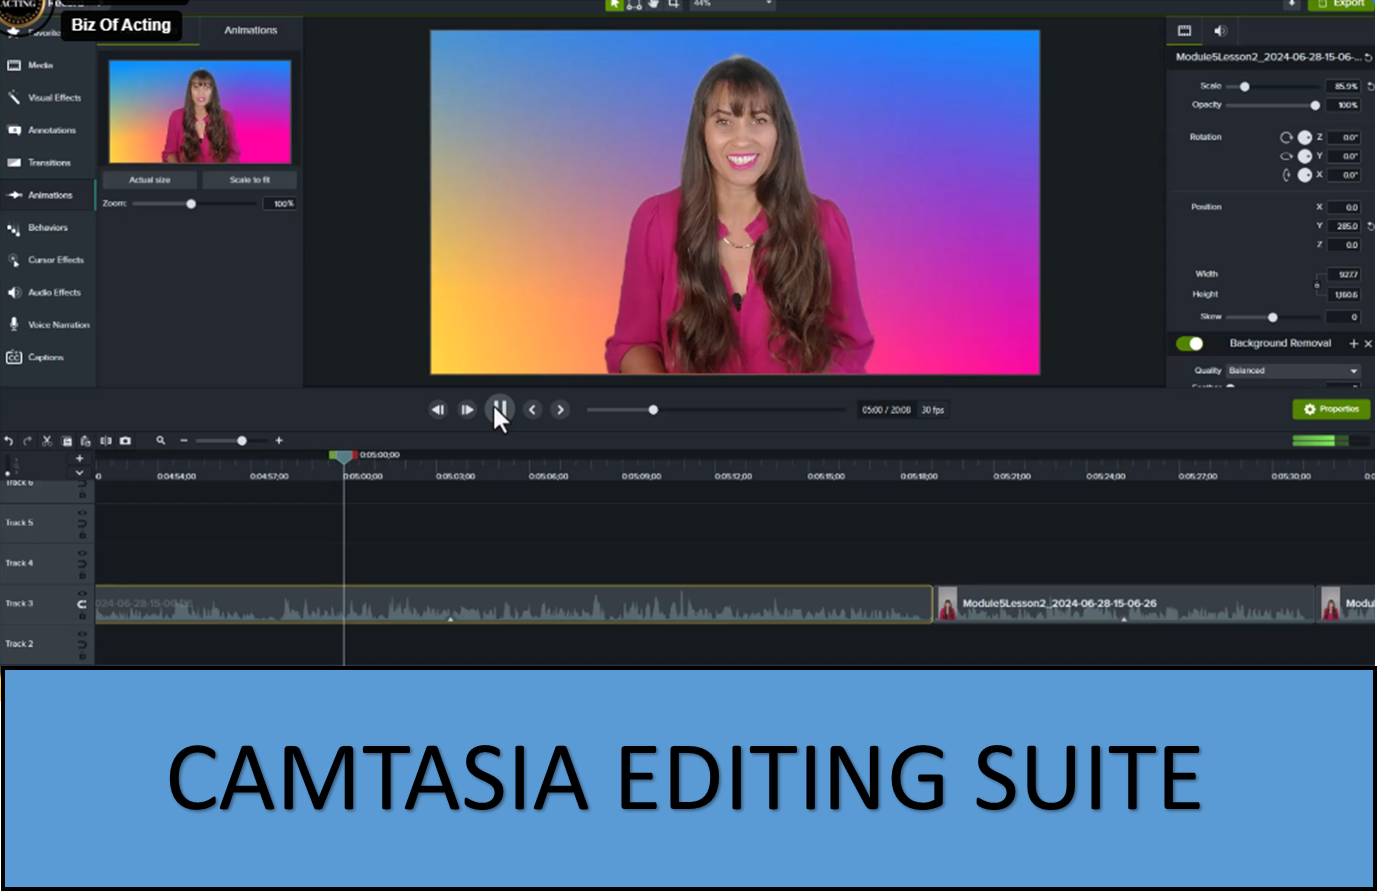
Camtasia Editing Suite
Intuitive Interface for Self-Tapes & Demo Reels. Camtasia’s easy-to-use interface makes it perfect for actors and content creators who need quick but polished results and with Camtasia you can create amazing video.
Premium Editing Software for Creating Pro Videos
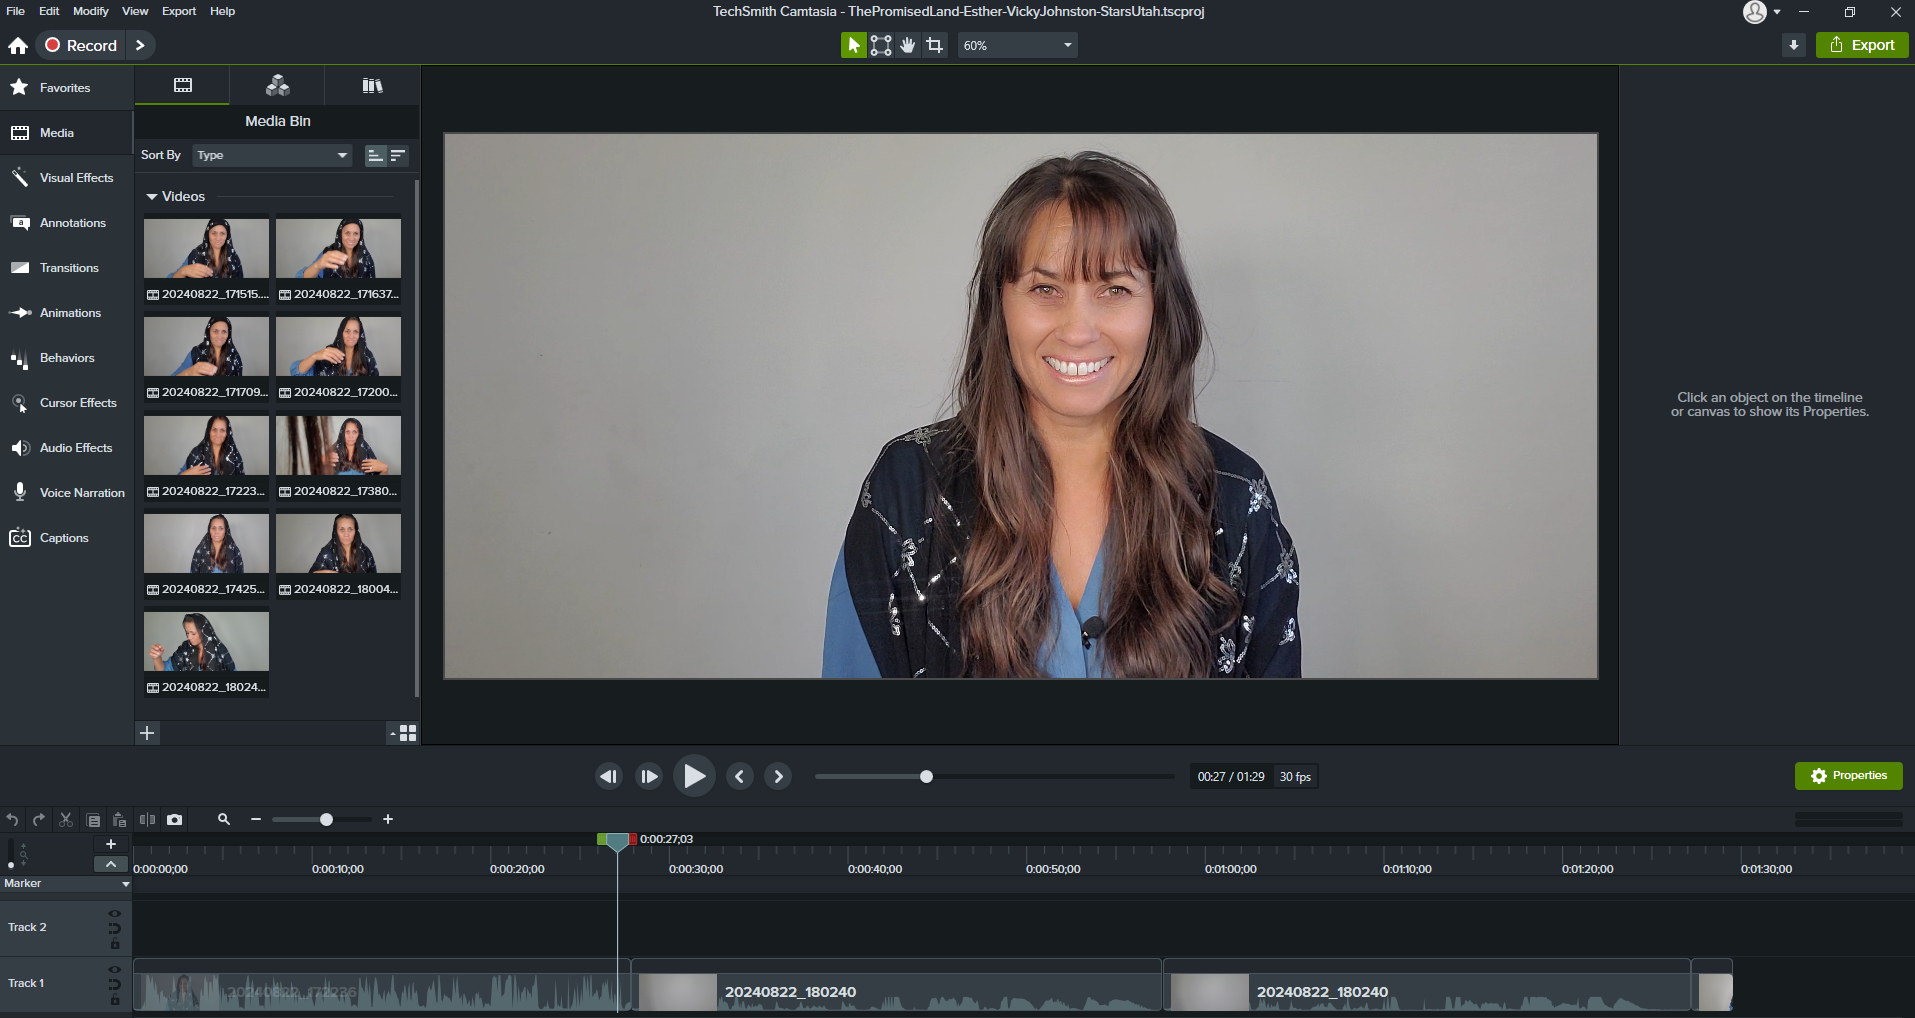
The Camtasia editing suite is a clear step up from the free tools mentioned above, but not as complicated as Final Cut Pro or Adobe Premier, which I used in Film School. You don’t need to go to that level of editing for self-tapes and demo reel editing. While the free tools can get you started, investing in a more advanced editing software-can help you stand out, especially if you’re serious about creating high-quality self-tapes, demo reels, pro level videos and social media content. This is where Camtasia shines.
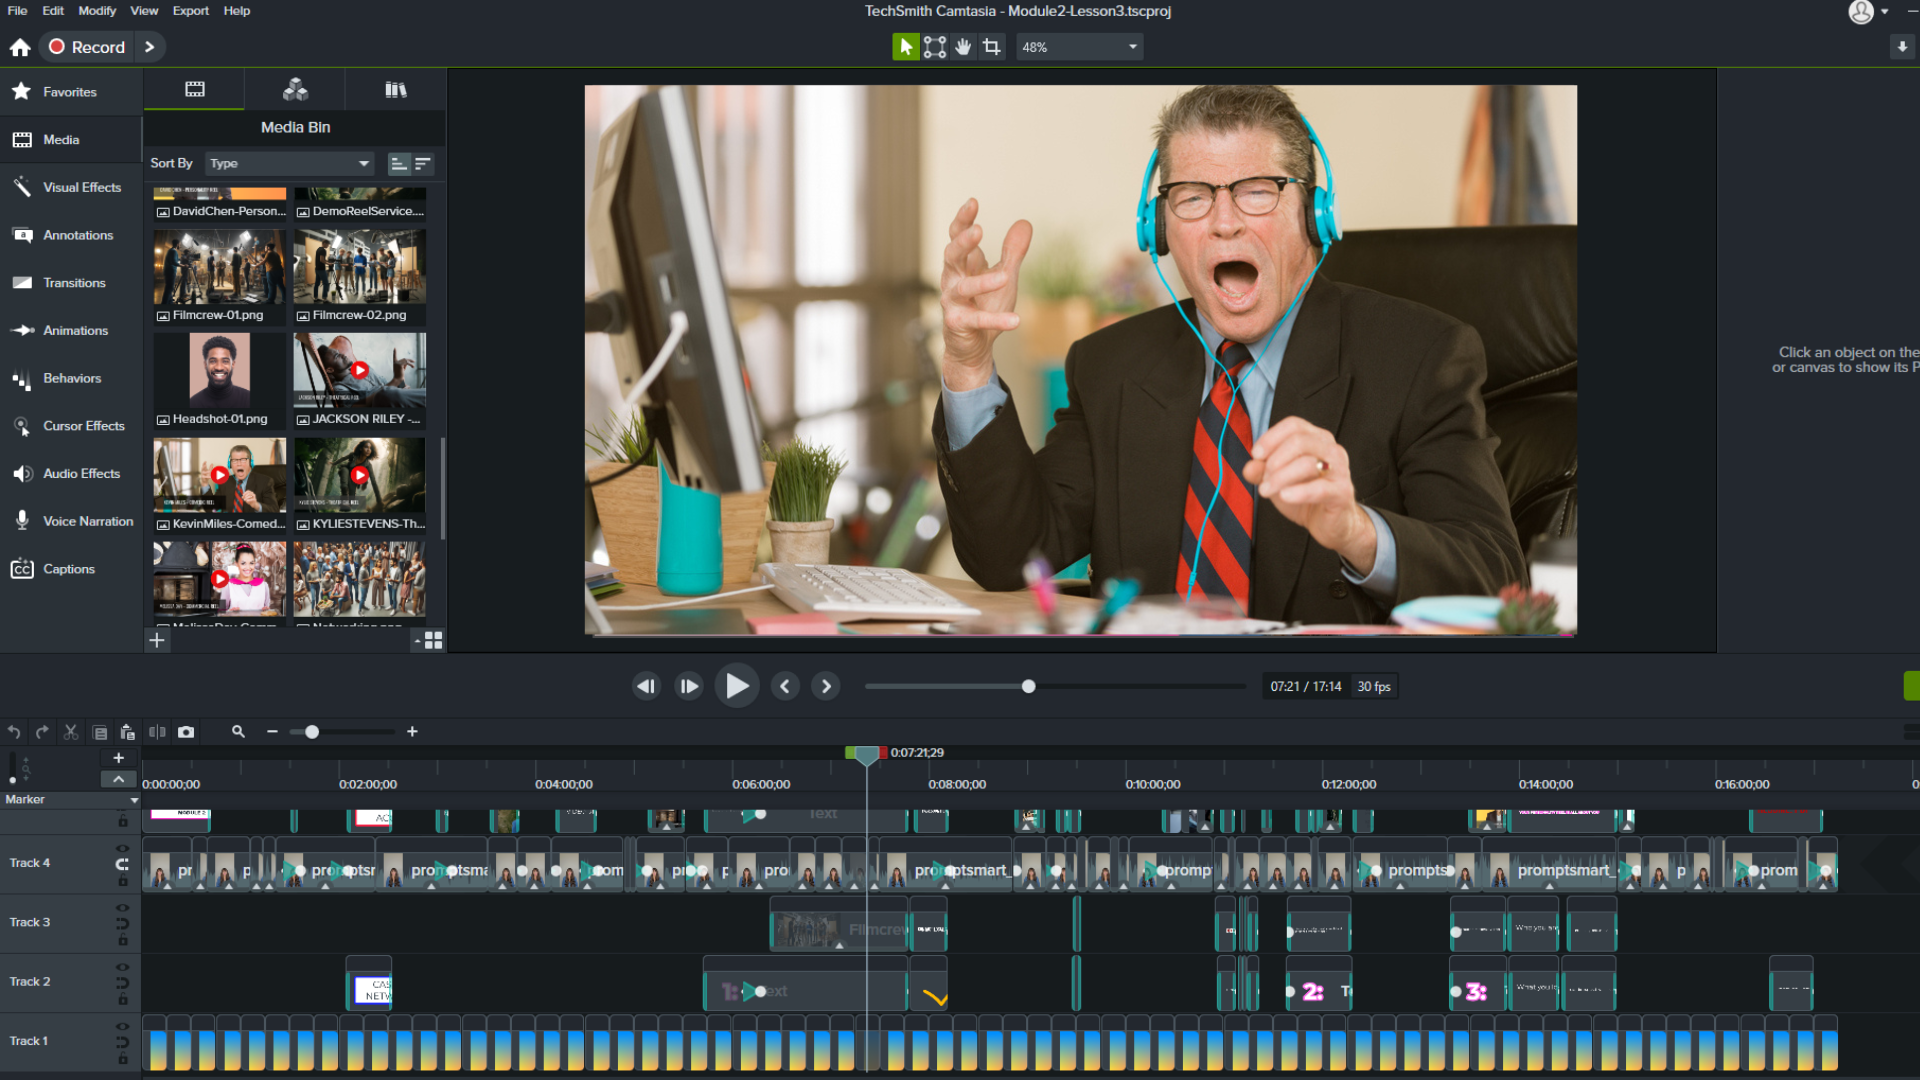
I have been using Camtasia since 2019 and they are amazing at coming up with the latest features. It’s what I used to create my online video master course “Biz of Acting”. You won’t need this editing suite if all you’re doing is trimming your self-tape but if you know you’ll be creating much more video content-then this is my top pick for ease of use, incredible features such as removing background, gorgeous subtitles, clever animations and transitions! There are a multitude of tutorial videos so you’ll always know how to do something.
-
- Intuitive Interface for Self-Tapes
Camtasia’s easy-to-use interface makes it perfect for actors who need quick but polished results. With Camtasia, you can:
- Cut, trim, and splice clips with ease, ensuring you meet the casting directors’ instructions and time constraints for self-tapes.
- Sync audio with precision, ensuring your performance is crystal-clear.
- Add basic text overlays to include your name, the role, and other essential information.
- Audio Enhancement Tools
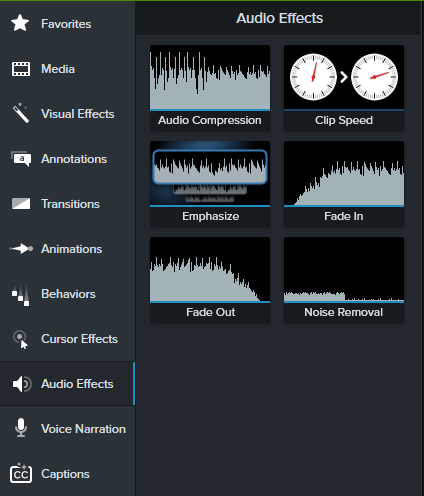
Good audio is key to a successful self-tape or demo reel, and Camtasia allows you to enhance your sound effortlessly. You can adjust the volume, reduce background noise, and even add subtle music or effects, all with just a few clicks.
- Multi-Clip Demo Reel Creation
With Camtasia, you can seamlessly blend together multiple scenes to create a cohesive and professional demo reel. You can drag and drop your scenes, add transitions, add music at appropriate times, and export your reel in HD quality. The process is quick, but the results look like you hired a professional editor.
Creating Professional Content Beyond Self-Tapes: Camtasia for Demo Reels, Short Films and Social Media
Camtasia is an award winning software that has been featured on CNN, Forbes and PC World Transform. Camtasia isn’t just great for self-tapes and demo reels. It has a plethora of advanced features to do almost anything you would want in an editor to create pro level videos.
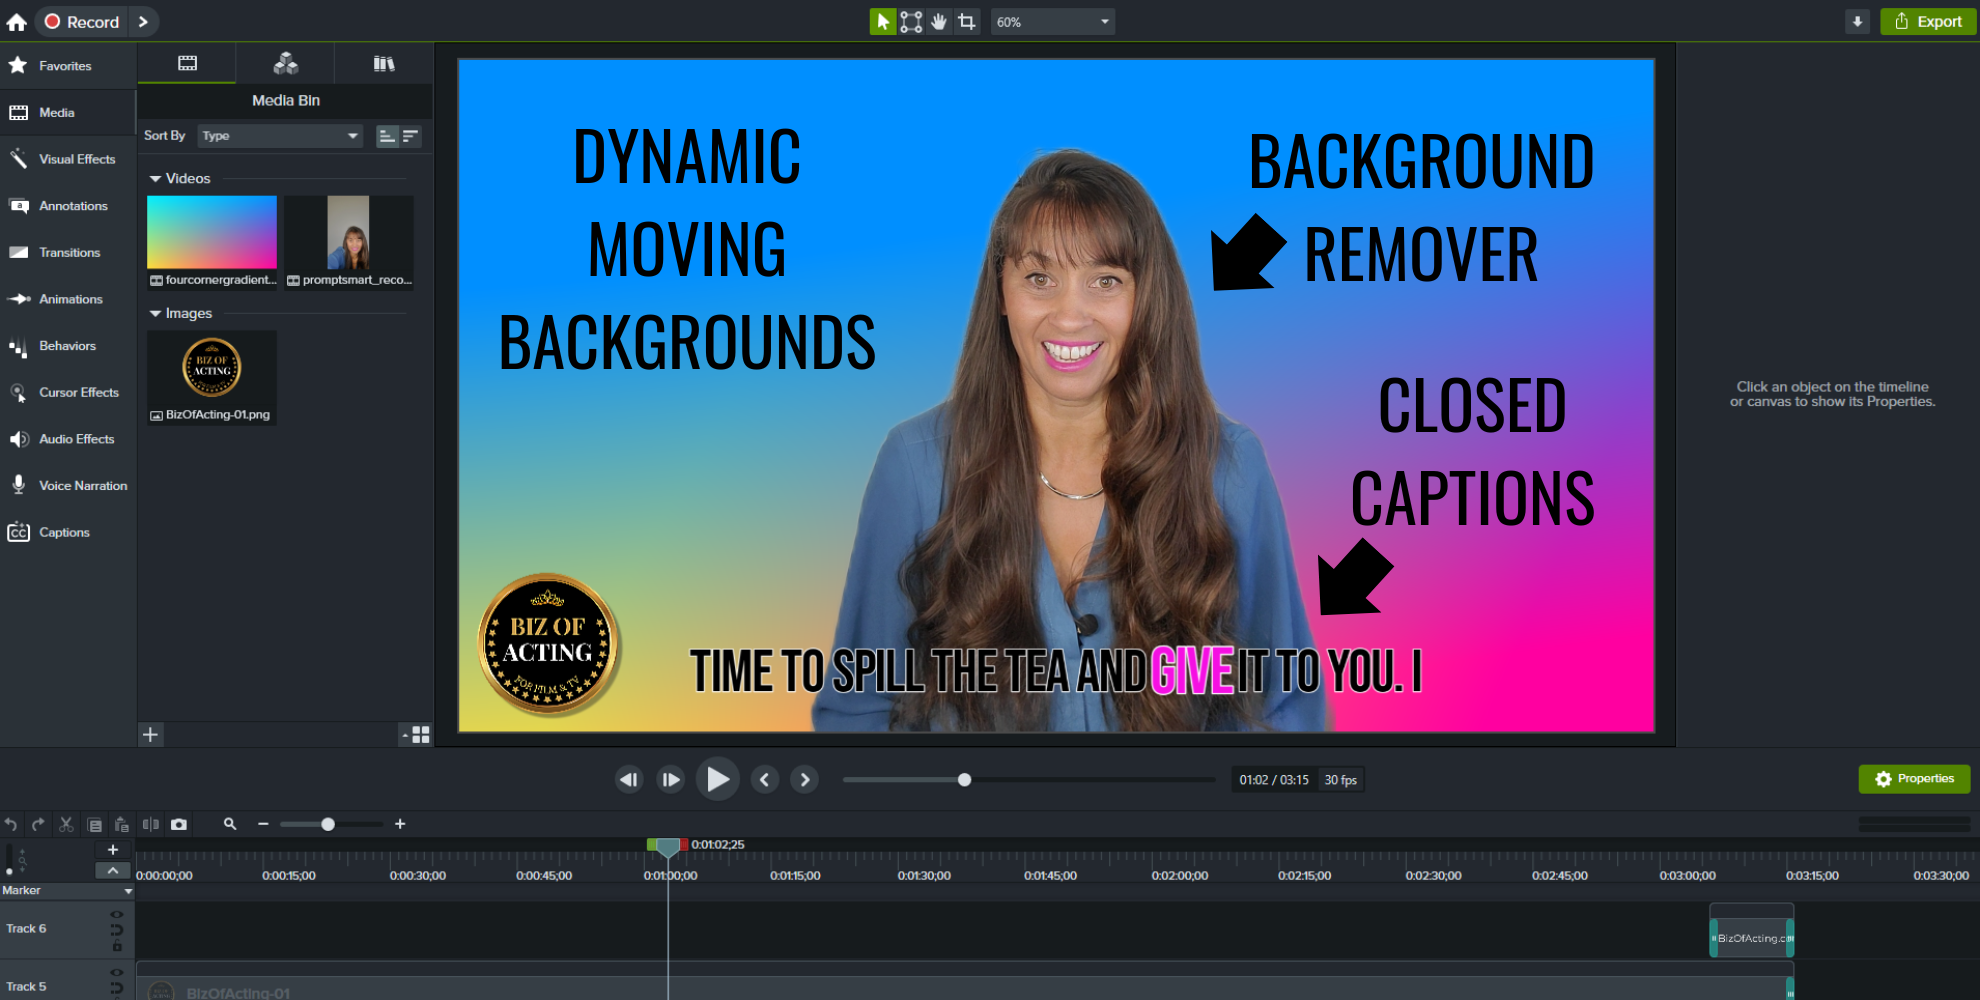
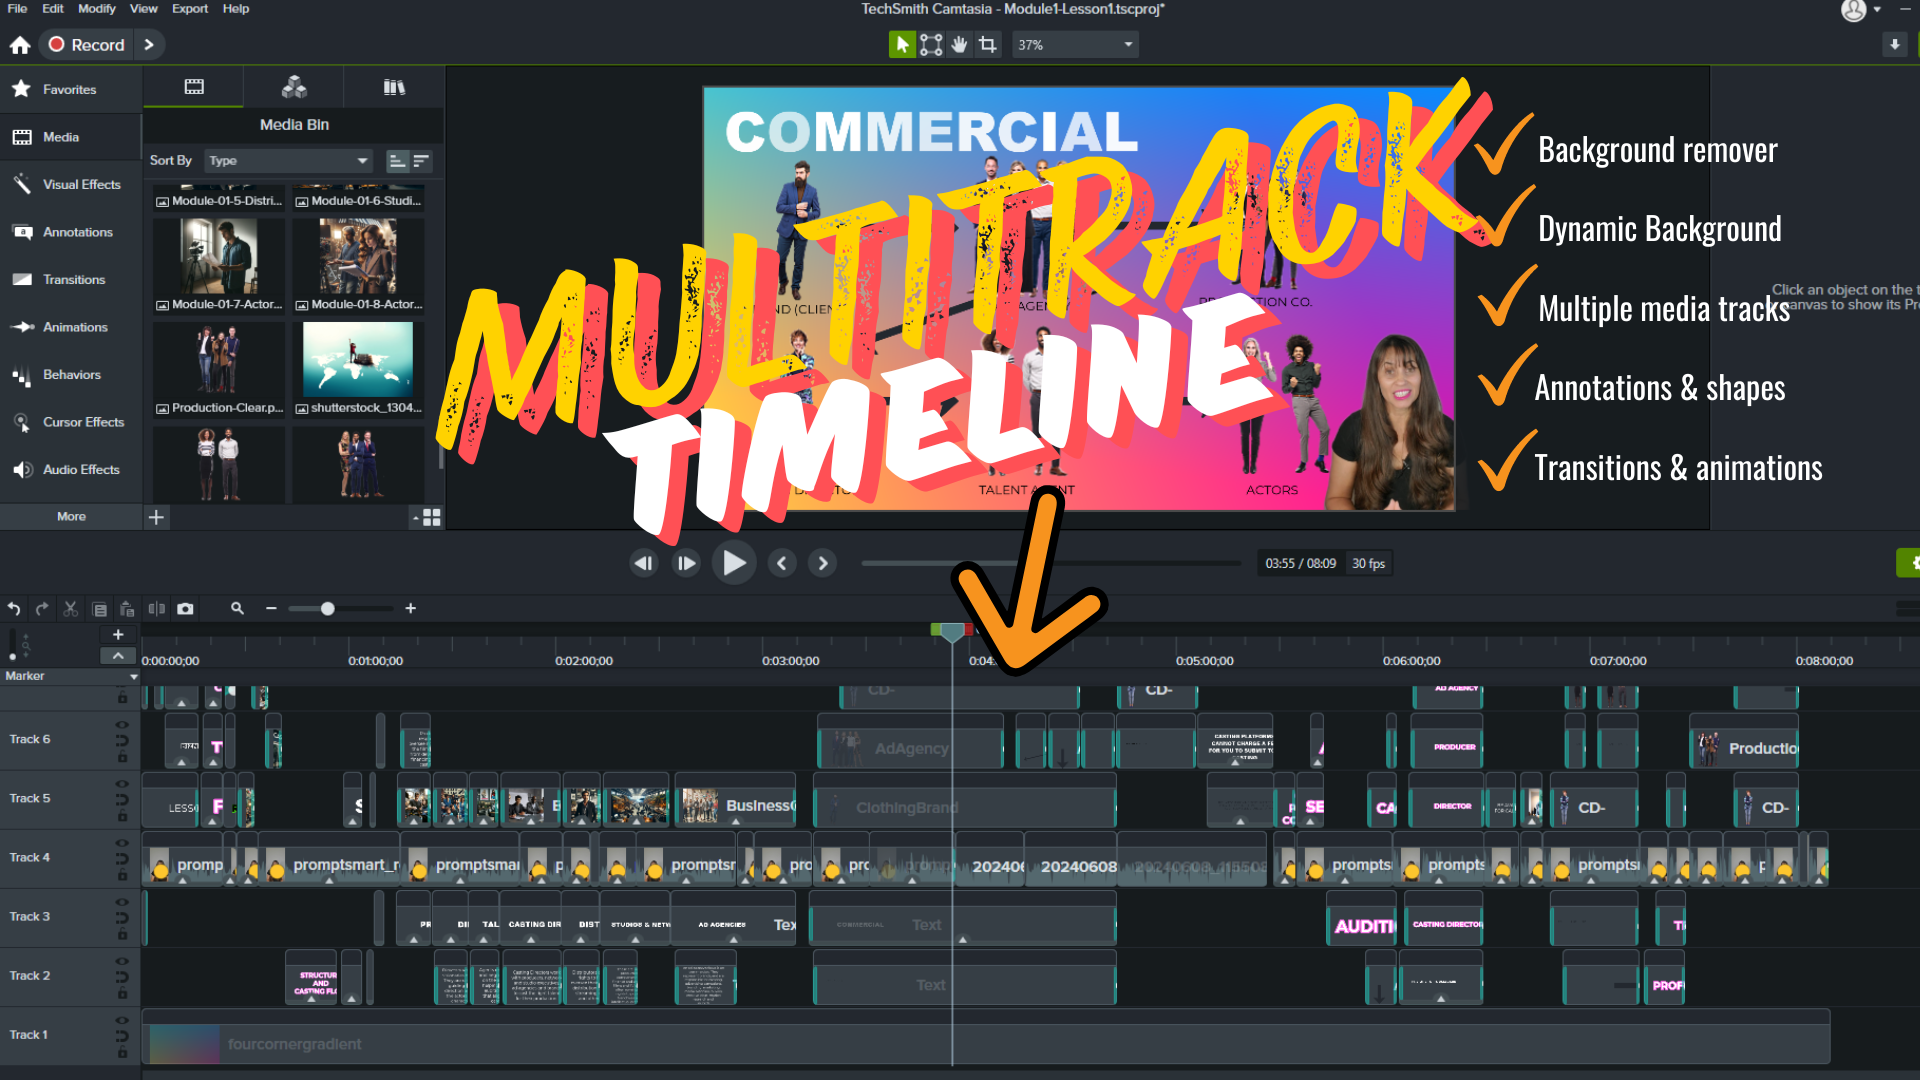
If you’re looking to expand your brand or create your own content—whether it’s a short film, YouTube series, or viral social media video—Camtasia offers a range of advanced features. There are many easy to use features and effects. I have listed my top three in green (okay there’s 4…lol). These features are great for marketing, social media and creating top notch videos and tutorials.
Camtasia’s Amazing Features – Here are some to start with:
- Easy and powerful editing software that has many ‘how to’ video tutorials
- Background remover
- Very cool animations and behaviors
- Motion graphics
- Dynamic moving backgrounds
- A variety of text annotations, shapes and callouts
- Automated intros and outros
- Pre-built templates and backgrounds
- Millions of royalty free video, images, sound and music assets
- Beautiful closed captions
- Screen recorder with option to video record yourself simulationeously
- AI Technology
Here is a quick overview of the latest Camtasia features – presented by Nick Nimmin.
1. Producing Short Films
If you’re an actor or business owner interested in creating your own short films, Camtasia offers all the tools you need. With its multi-track timeline, you can layer video, audio, and graphics for a polished final product. Plus, the built-in screen recording feature is great for creating behind-the-scenes footage or other types of tutorial videos.
2. Creating YouTube & Social Media Content
Camtasia is ideal for actors wanting to create content for YouTube or social media platforms like Instagram and TikTok. You can use its social media templates to speed up your editing workflow and ensure your content is optimized for each platform. The software also allows for easy video resizing so your content can look professional no matter where it’s viewed.
3. Special Effects for Engagement
For TikTok and Instagram Reels, engaging content is crucial. Camtasia lets you incorporate animated text, motion graphics, and other effects that make your videos pop. If you’re producing a tutorial, vlog, or behind-the-scenes clip, the annotations and callout features are perfect for adding context or highlighting important moments.
Final Thoughts: For All Your Content Needs
For actors, being able to edit your own self-tapes and demo reels is essential in today’s industry, and while free tools like iMovie and Canva are excellent starting points, Camtasia provides a significant upgrade for those looking to create high-quality, professional content. Its easy-to-use interface, combined with powerful features, makes it an ideal choice not only for editing actor-specific content but for producing engaging short films, YouTube videos, and social media content as well.
Whether you’re looking to nail that next audition or build a following on social media, Camtasia offers everything you need to make your videos shine.
This post serves as a guide to help you choose the right editing tool for your needs, depending on where you are in your acting or content creation journey. From free software that can handle basic tasks to Camtasia’s robust features that can elevate your production, there’s an option for every budget and skill level. And sometimes you just need to be shown how things work in order to know that’s what you’ve been looking for all along.






0 Comments