The Dos and Don’ts of Self-taping
A Casting Director’s Perspective
The Do’s and Don’ts of Self-taping
As a casting director, I view many self-tapes daily, and I can tell you—it’s a mixed bag. Sometimes, I’m moved and excited by a phenomenal performance. Other times, I find myself wondering, “What was that?” The range of self-tapes we receive can be vast, but the best ones share something in common: professionalism, preparation, and attention to detail.
In this industry, competition is fierce. If you’re not fully committed to both the craft and the business side of acting, you’re setting yourself up for a tough ride. Learning how to master self-taping will put you ahead of the curve. Trust me, investing in good training and honing your self-tape skills can make all the difference.
When I watch self-tapes, I usually give them the full attention they deserve—up to a point. But if it’s clear early on that the quality isn’t there, I’ll stop watching. As harsh as it may sound, casting directors have limited time, and we prioritize tapes that have a chance of making it to the client. Your goal should be to create a self-tape so compelling that I’m eager to pass it along.
Mastering the self-tape process is crucial for getting cast. So, let’s dive into what you need to do—and avoid—when preparing and submitting your self-tapes.
The DOs: Preparation Stage
1.
Read the Casting Breakdown Thoroughly
1. Read the Casting Breakdown Thoroughly
Every word in a casting breakdown is there for a reason. It’s your guide to understanding the project, it outlines the terms and gives you self-tape guidance so you can submit the best audition. Don’t skim through it—fully digest the instructions, character notes, and any special requests. These details are what the casting director and client want to see from you.
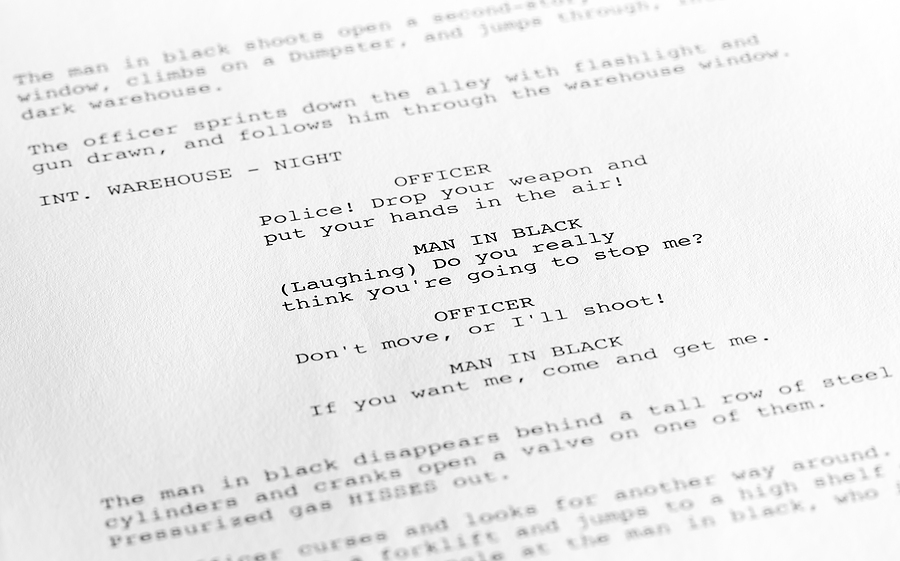
2. Study the Sides
Once you have the sides, dive into them. Understand the scene’s context, your character’s objective, and the relationships involved. Think about the setting, time of day, and events leading up to the scene. A strong understanding of these factors will help you make informed choices that lead to a more believable and resonant performance.
3. Review All Attachments
If there are storyboards, photo references, or extra audition notes, study them. These additional materials often contain invaluable clues to help shape your performance.
4. Confirm Your Availability
Before submitting, make sure you’re fully available for the shoot dates, including fittings or rehearsals. This is non-negotiable and shows your professionalism. I still get actors asking me if the shoot date could be another day so they can submit. I’ll just say no and leave it at that.
5. Check the Usage Terms
For commercial projects, pay attention to the usage terms. Some may only pay you the usage fee if you appear in the final cut, while others may involve conflicts and exclusivity. Be aware of what you’re signing up for. If you have a conflict with a competing brand that they list, then don’t apply.
6. Submit on Time
Always note and plan to submit your tape ahead of the deadline. Rushing can compromise your performance, but submitting late could disqualify you entirely.
The DON’Ts: Preparation Stage
1. Don’t Rush Through the Sides
If you don’t take the time to fully understand the scene and character, it will show. Skipping over instructions or hurrying to record without preparation could disqualify you right off the bat. Casting directors are looking for actors who can follow directions—if you can’t, how can we trust you on set?
2. Don’t Submit if You’re Unavailable
Always check your calendar before submitting. Too often, actors apply and later realize they’re not available for the shoot dates, causing unnecessary delays and frustration. Be upfront about your availability from the start.

3. Don’t Apply if You Don’t Agree to the Rate
If you’re unhappy with the pay being offered, don’t apply—unless you’re a top-tier talent with room for negotiation. For most actors, the budget is firm, so apply only if you’re comfortable with the terms.
4. Don’t Apply if You Can’t Be a ‘Local Hire’
If the casting breakdown says something like; ‘Texas local hire only’ This means production are looking for local talent in Texas and they will not be covering travel and accommodation if you are from out-of-State. This doesn’t always mean that you can’t submit if you are from outside of Texas, it just means you would be responsible for those costs. Often this is stated because of budgeting restrictions.
In recent years, I have seen an unprecedented amount of actors flying across the nation to take on work where they can. And if travel and accommodation is not covered, but the pay rate makes financial sense to accept it, then actors are submitting for jobs outside of their State knowing they will need to upfront those extra costs. It’s also important to note that if there is a fitting date that is not close to your shoot date then you might think twice about submitting. Usually, a fitting is in person and in the State the shoot location is in.
In regards to booking flights, I know flights are cheaper when they are non-refundable but it is wisdom to buy a flight that can be changed without penalty. Sometimes shoot dates can change for things like inclement weather and if you’re footing the bill then you are better to get a changeable ticket. I have known talent that bought a non-refundable ticket and the shoot date changed, so they lost the whole cost of the ticket and had to purchase a new one.
2.
The DOs: Self-Tape Setup
1. Use a Clean Background
Make sure you’re filming against a plain wall or backdrop. If you have darker skin, use a lighter background to avoid blending in. Remove all distractions, including wall art and clutter.
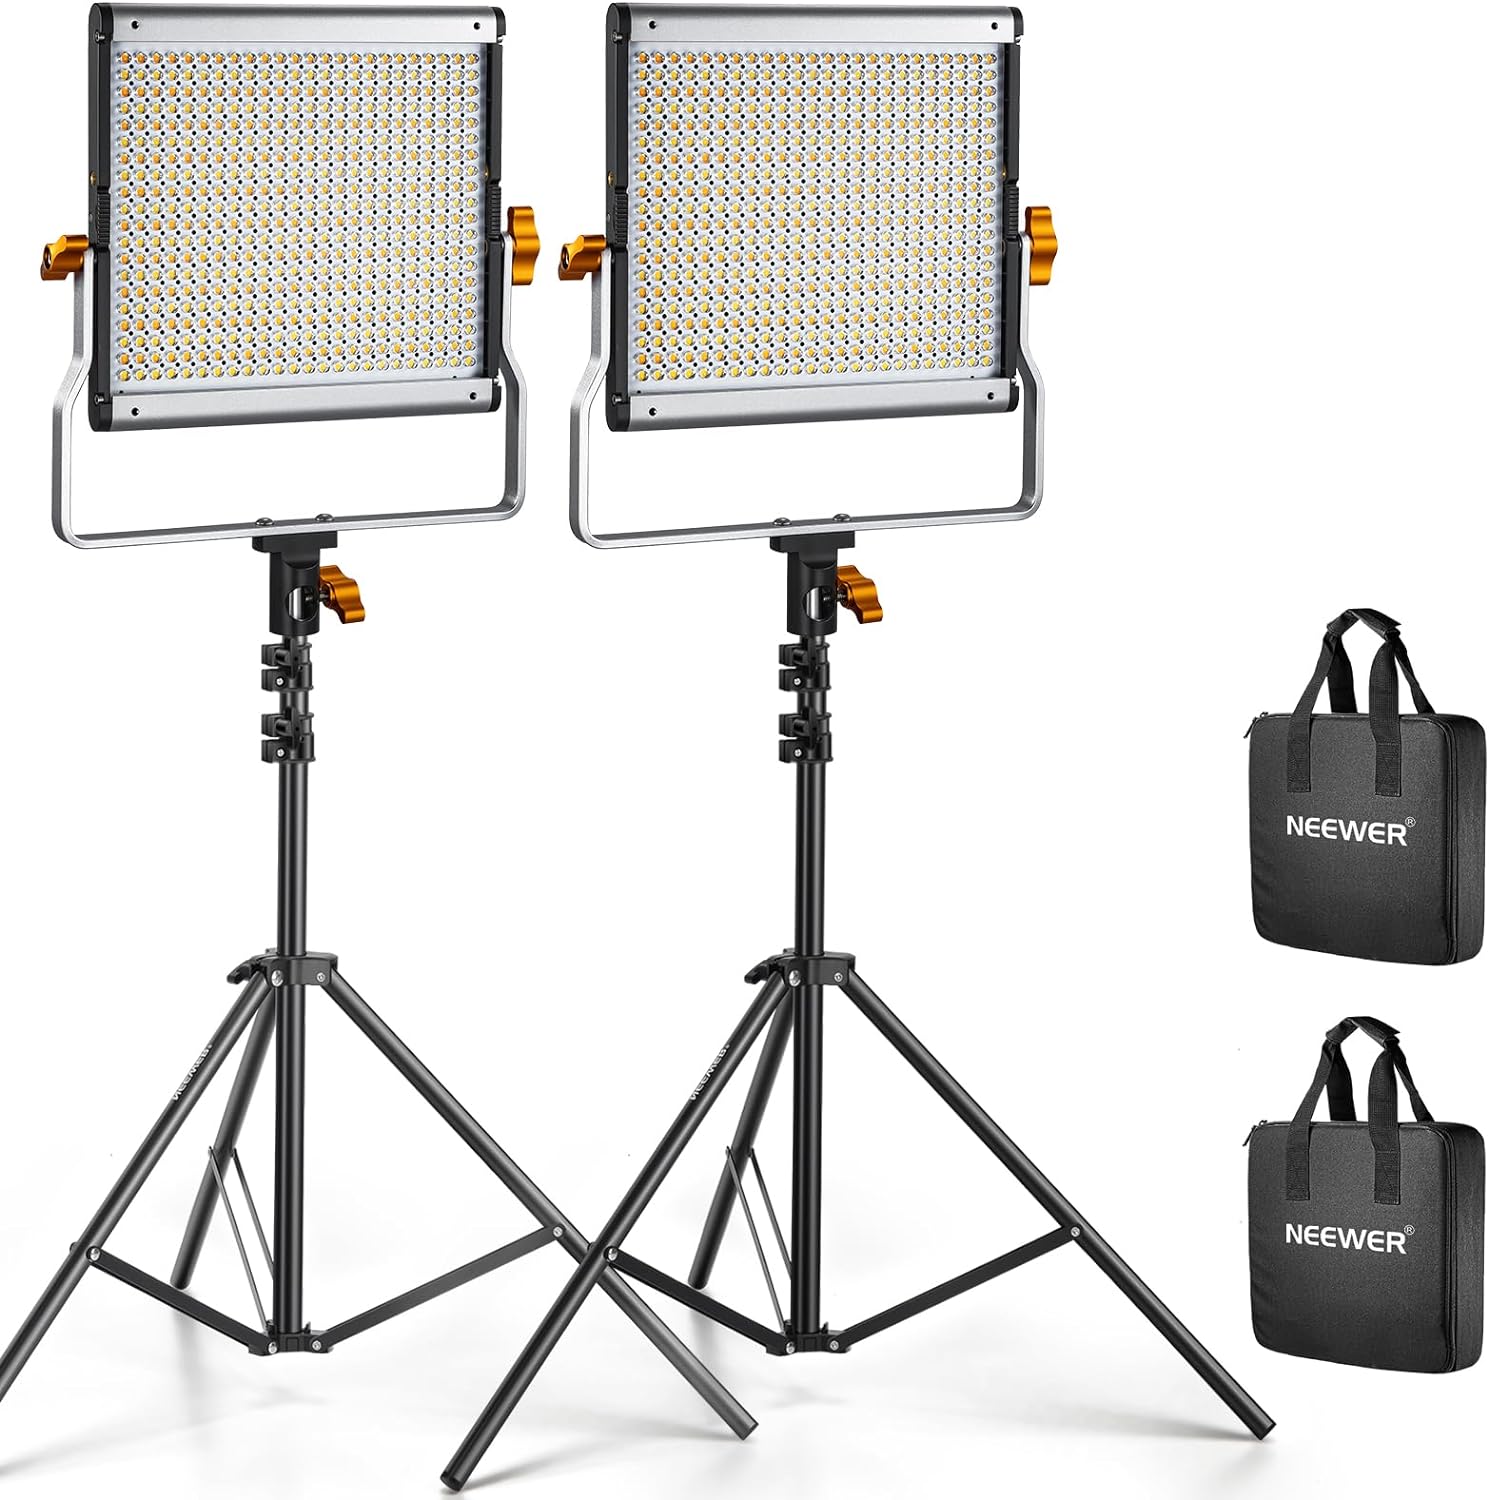
2. Good Lighting Is Key
Ensure you are well-lit, with no harsh shadows on your face or behind you. The goal is to be clearly visible without overexposing your features.
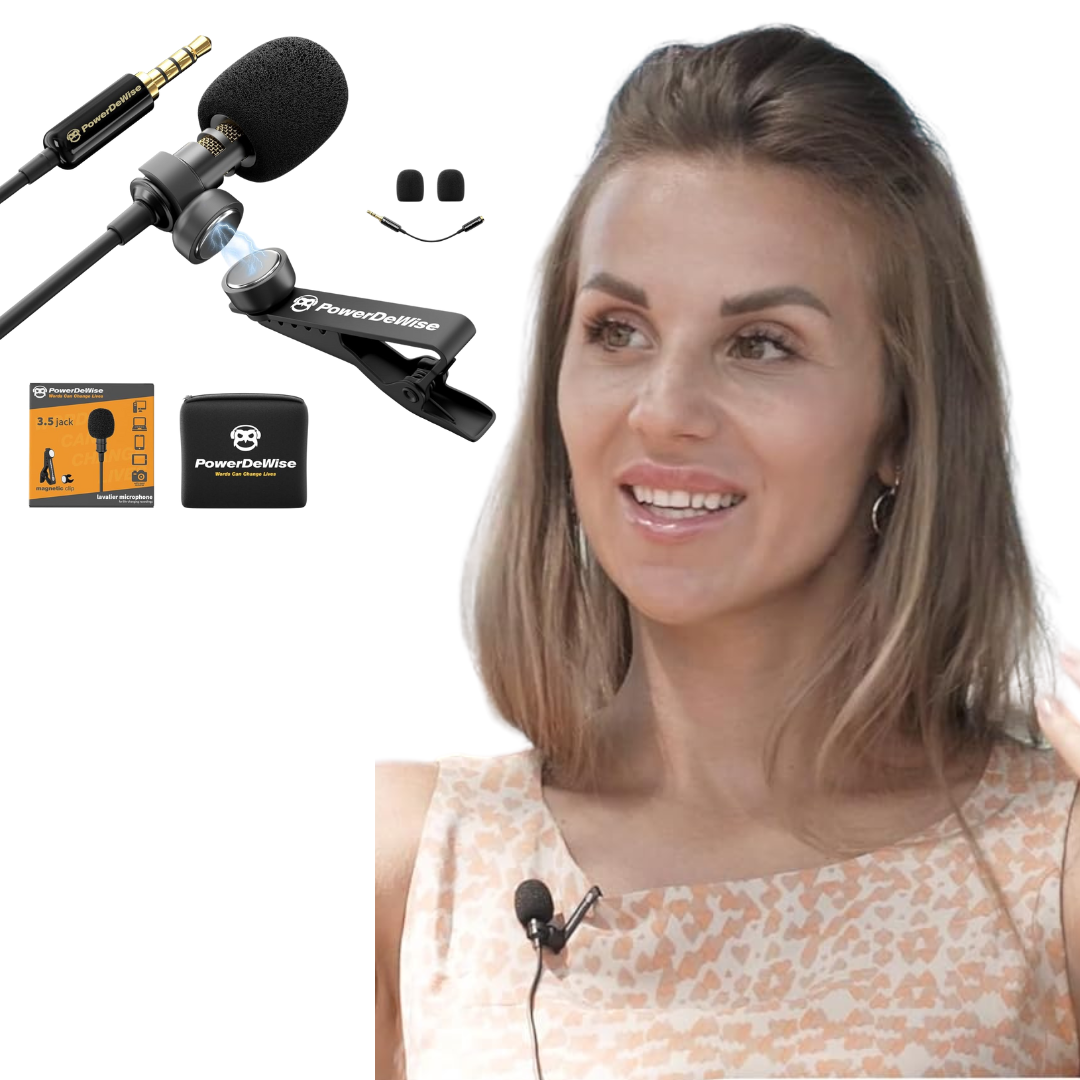
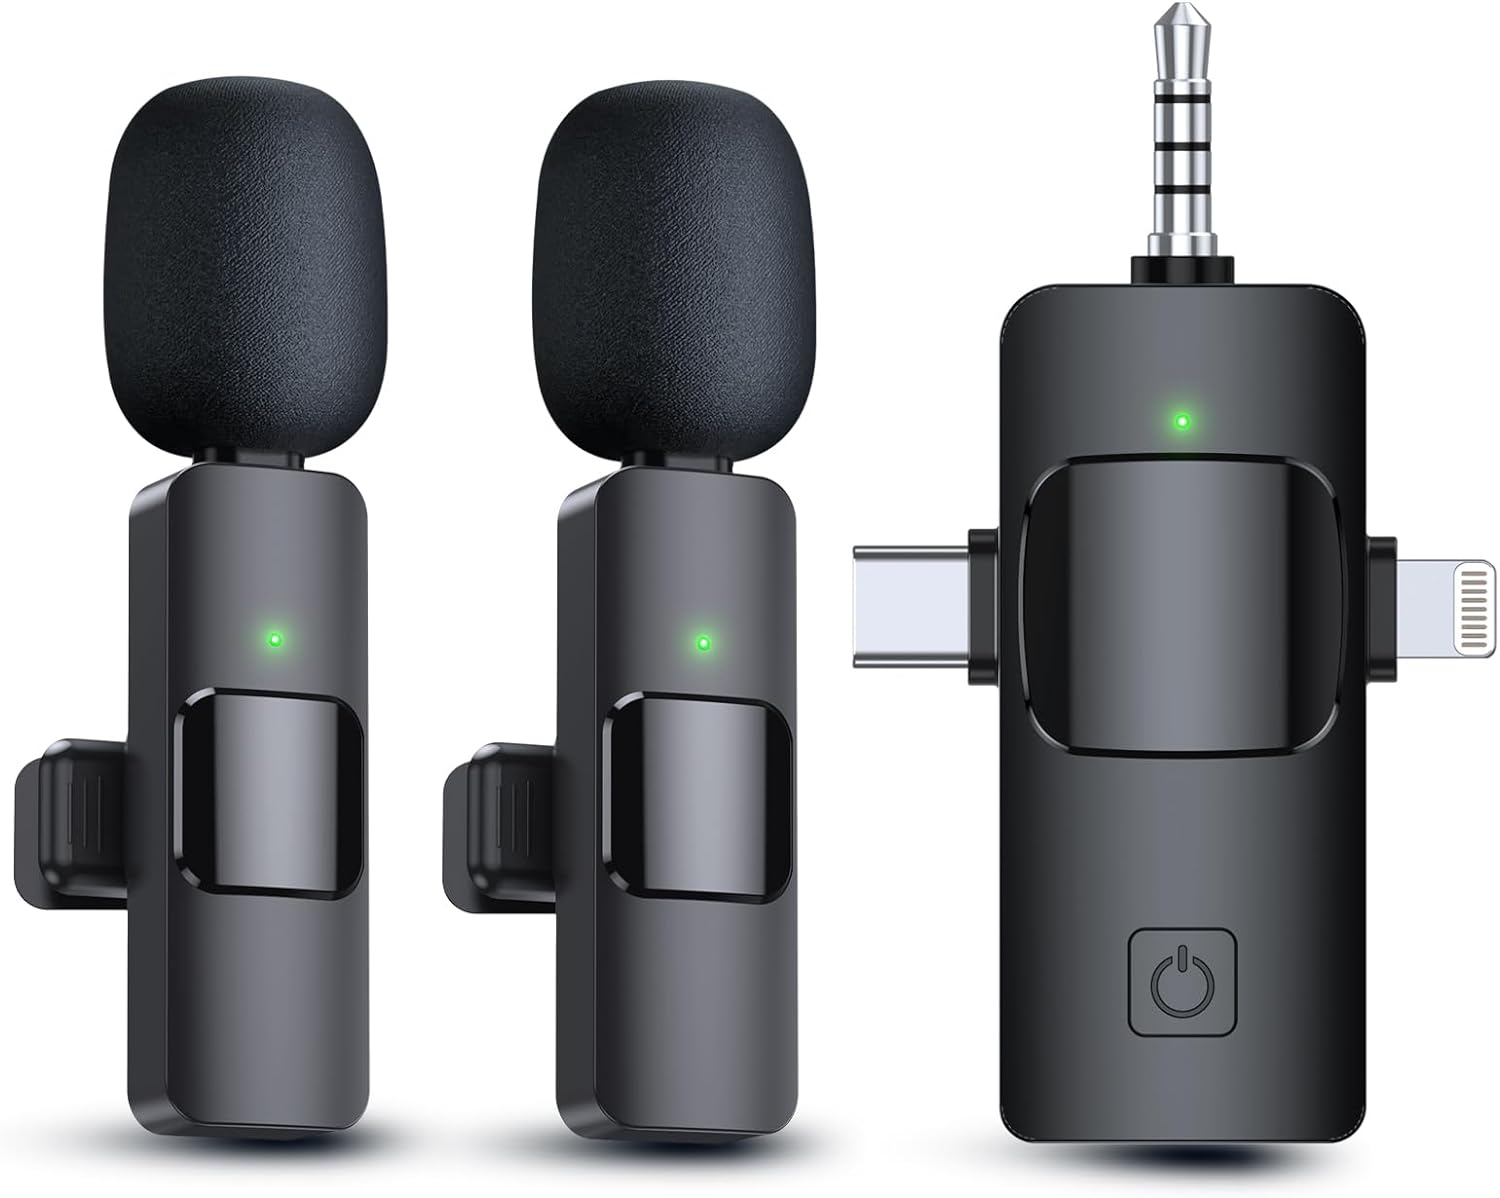
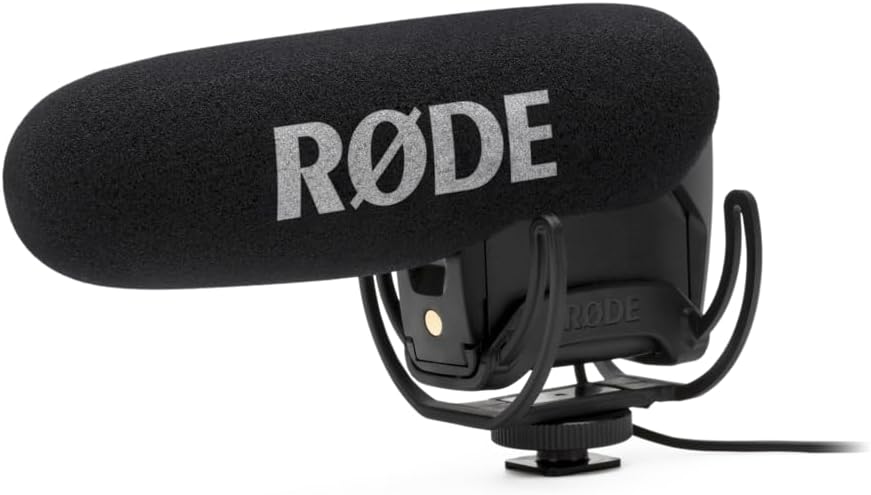
3. Use a Quality Microphone
We need to hear your voice clearly. Avoid sounding distant or muffled by using a microphone that captures your voice crisply and distinctly. A full list of self-tape equipment can be found on my blog post “Tools of the Trade”
4. Frame Yourself Correctly
Position the camera at eye level on a tripod and shoot in horizontal orientation. You should be centered and framed from the chest up, with just an inch of space above your head. Avoid empty space above your head – crop if needed during editing. The camera should be at least 3 or 4 feet away from you to avoid your face and nose appearing wider than they are.
5. Wardrobe
Wear something appropriate to the character, but nothing over the top and distracting.
6. Have a Reader Ready
Your reader should stand just off-camera, with a lower volume than you, so your voice is the one we focus on. If they can’t be present, Zoom or other remote solutions work too. You can have someone reading with you via zoom if you don’t have someone physically present.
7. Slate before you read
Confidently slate at the beginning of your self-tape: Name, height, Age if under 18, Agency and the role you are reading for. Some casting directors may ask for your height or the city you reside in. The slate is a quick introduction and should not be prolonged. Some casting directors want you to slate at the end. If you are submitting to a casting director that does it this way then follow their instruction.
8. Prepare and Rehearse
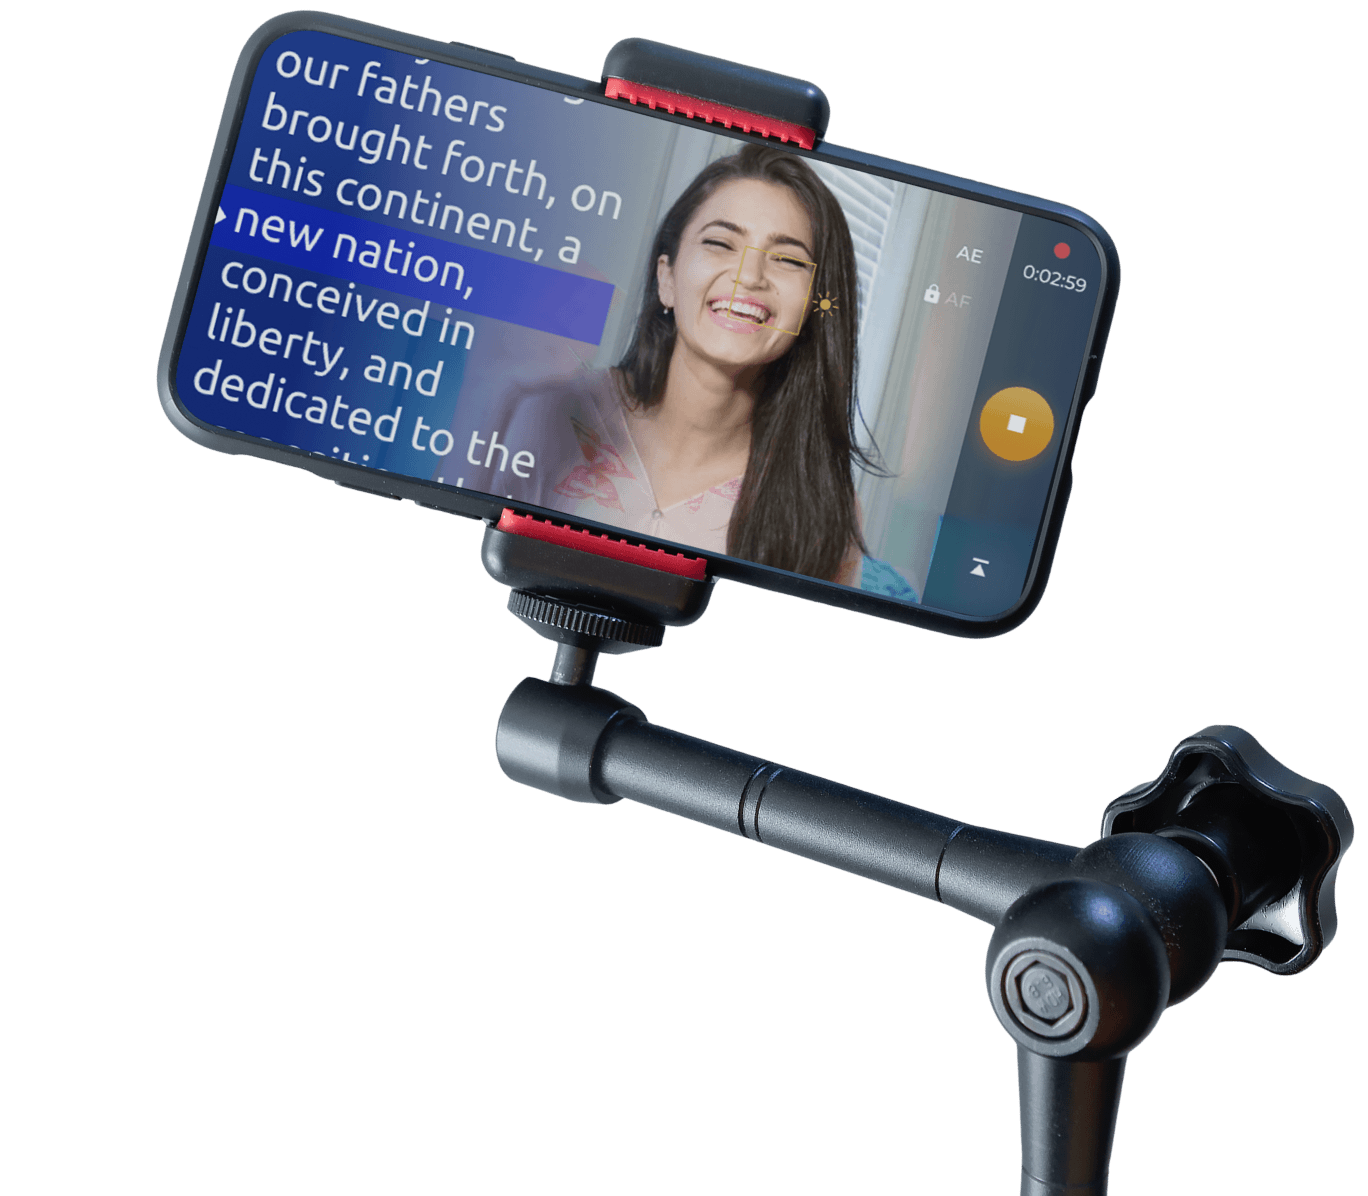
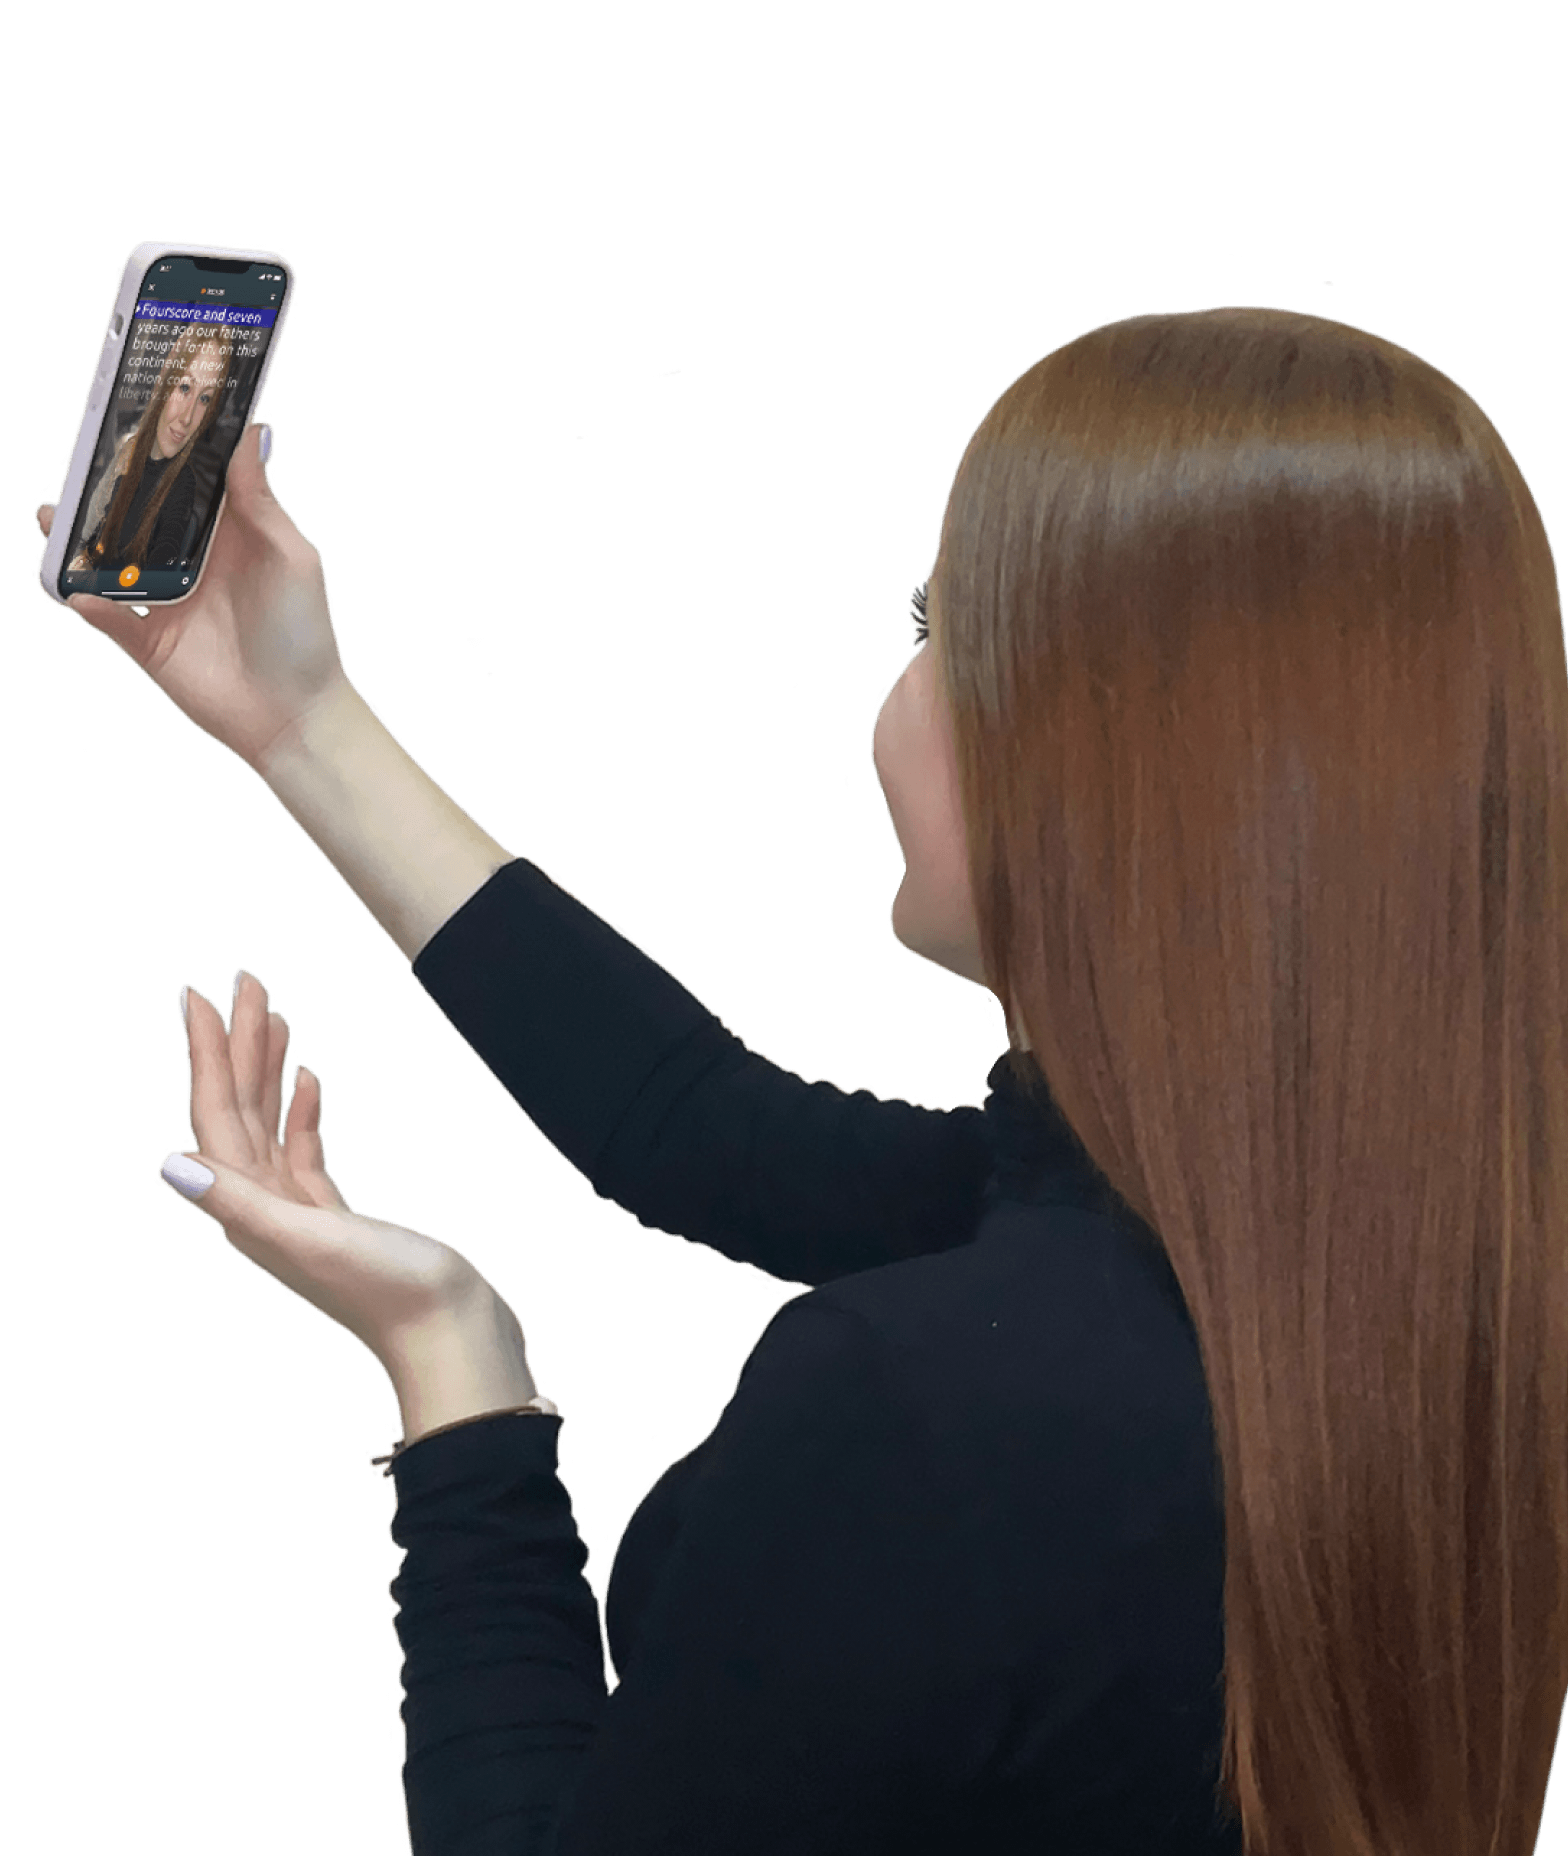
Do memorize your script…as best you can. I know some sides are lengthy. I highly recommend using a teleprompter app to help you give an outstanding performance without the worry of remembering lines. Turnaround times on auditions can be incredibly tight so having a teleprompter can help immensely in helping you to relax and focus on your performance. No one needs to know you are using a teleprompter.
The teleprompter I use has patented technology that scrolls as you speak. It is voice-activated, so you are always on the right line, and no one can tell you are reading a script. It allows you to improvise and it will pause with you and resume scrolling when you return to the script again. The app is called PromptSmart. You can use it on your cell phone, mobile device or laptop. It can also simultaneously record you.
9. Using Props
Use common sense when it comes to props. Generally, I don’t suggest using props, however a small prop like a cell phone or notepad is okay, if the scene calls for it. It can make it a little more believable, rather than miming it. I know some casting directors will oppose this but if it’s just a small handheld prop and it fits the scene, I think it helps visually. Don’t add a prop if it’s not in the scene and it doesn’t make sense. Use caution when deciding to use a prop.
3.
The DON’Ts: Self-Tape Setup
1. Don’t Shoot Vertically
Unless specifically instructed (like for social media content), always shoot horizontally. This is the industry standard for film, TV, and commercials.
2. Don’t Handhold Your Camera
Your camera should be stable, ideally on a tripod, to avoid distracting shakes or tilts.
3. Don’t Let Your Background Distract
No wrinkled backdrops, no clutter, and no pets walking by during your read! Keep the focus on you. I have had self-tapes sent to me with a pet in the background and I couldn’t stop looking at their cute pet – It is highly distracting.
4. Avoid Distractions
Remove any visual or audible distractions that could be recorded like the TV running in the background.

5. No Heavy Shadows
Don’t have heavy shadows on your face or behind you. Keep your lighting even and flat. I don’t always recommend relying on natural light. If there is scattered cloud cover, this can make the lighting on you go dark and fluctuate.
6. Don’t be out of Focus
Check your video so you are always in focus. Most cell phone cameras are fine but if you have a DSLR camera with auto focus tracking that is delayed this can make your self-tape jittery when it’s trying to find focus each time you move.
7. Don’t Step Outside of Frame
Know how much room you have to stay in the shot
8. Don’t Have Your Back to Camera
Don’t do your read with your back turned to camera or your body in a side profile. This is why your reader is just side of camera so your eyeline is not turning your body too sideways where we can’t see your face fully. Both eyes should be visible.
9. Don’t Cover Your Face
Don’t hide your face with your hands, glasses, hat, hair etc. We need to see your expressions and how you respond.
4.
The DO’s: Submitting Your Self-tape
1. Edit Thoughtfully
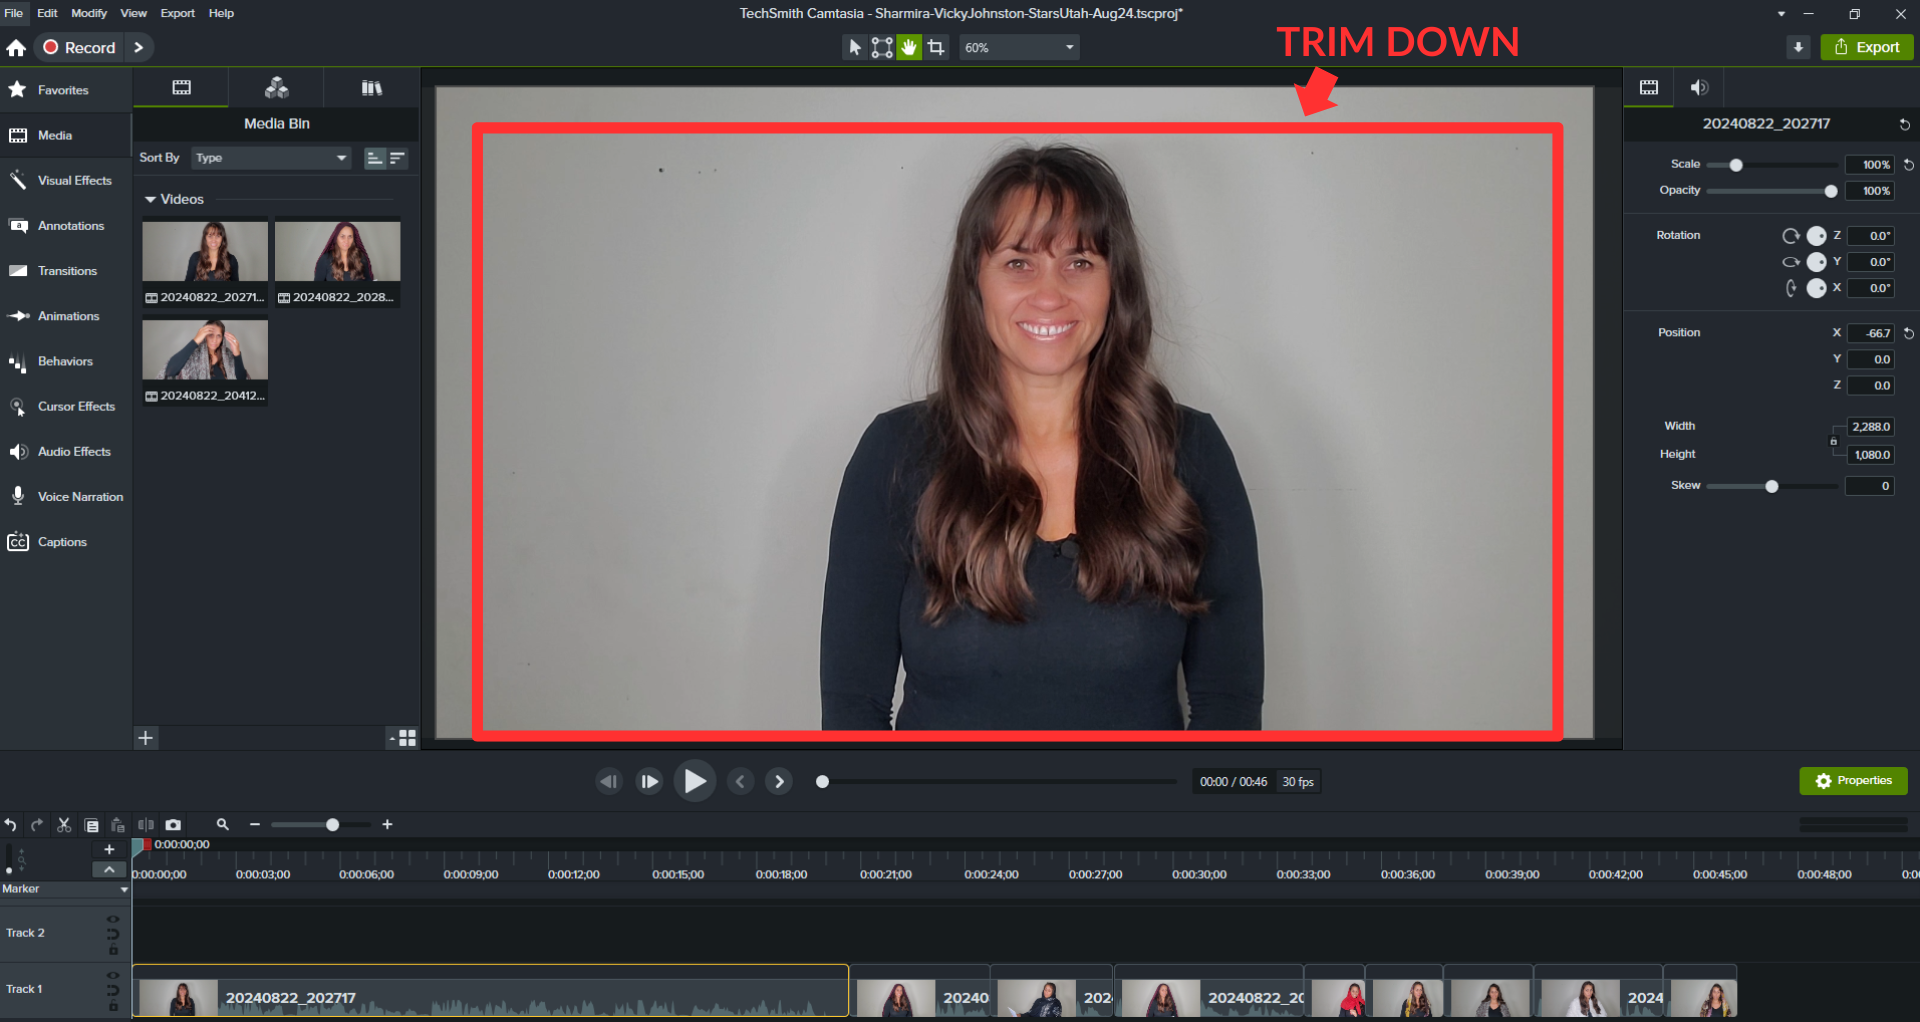
Trim excess footage at the start and end, and crop to fit if needed. If there is dead space between your slate and your read cut this out too. Crop down your framing to just above your head if there is an excess blank space but keep the size ratio the same.
2. Video File Name
Save the video file name with your first and last name and the role name. Don’t leave it with the auto generated numbers that your camera will automatically save it as.
3. Video Film Format
Submit your tape in the format requested. This is likely to be an MP4 or MOV file format. Some casting websites may want you to submit a video resolution size in 720p instead of 1080p.
4. Check Submission Guidelines
Double check submission guidelines and verify how the casting director is requesting your submission. This could be an online portal, Wetransfer, upload the file to a casting management site, a video link only – like a YouTube or Vimeo URL.
5. Have All Materials Ready
Ensure everything else is ready to attach when you submit. This could be headshots, full body profile shots, resume, online profile link, demo reel link, or answer any questions that casting has requested. This could be confirming that you have things like, a valid passport, or you have a vehicle that can be used in the shoot, or confirming you have tattoos and where etc…
From time to time I get links to demo reels, social media accounts, IMDb pages, actor profiles and other websites but the link doesn’t work and I get sent to an error page. Please be sure that the links you are giving actually work. Test them first.
6. Rewatch Before Submitting
Always review your edited self-tape before submitting. Look for anything you may have missed during filming, and ensure everything looks and sounds as it should. Be sure to send the correct file.
5.
The DON’Ts: Submitting Your Self-tape
1. Editing
Don’t use any special effects, slow motion, music, or busy text overlays in your edit
2. Not Send the Self-tape Requested
Don’t send your demo reel or a self-tape from another project in place of doing the requested self-tape. This happens from time to time, and these submissions often get ignored and are not forwarded to the client for their review. It’s telling the casting director that you can’t follow instructions.
3. Don’t Contact the Casting Director
Unless you have received a message from the casting director and they are waiting on a reply from you, do not contact the casting director. During casting they are incredibly busy. Only submit your self-tape the way they direct you to. If you have an agent ask them to relay any relevant questions on your behalf. Your agent may have the answer too.
4. Sending a Self-tape By Email
Don’t try to send your video file by email. It will likely not send because the file size might be too big for the server to load and send.
5. Don’t send a Self-tape Video Link That Doesn’t Work
On occasion talent will send me a link to YouTube.com, or their studio dashboard which I can’t access. Check that the link you give to the casting director works correctly.
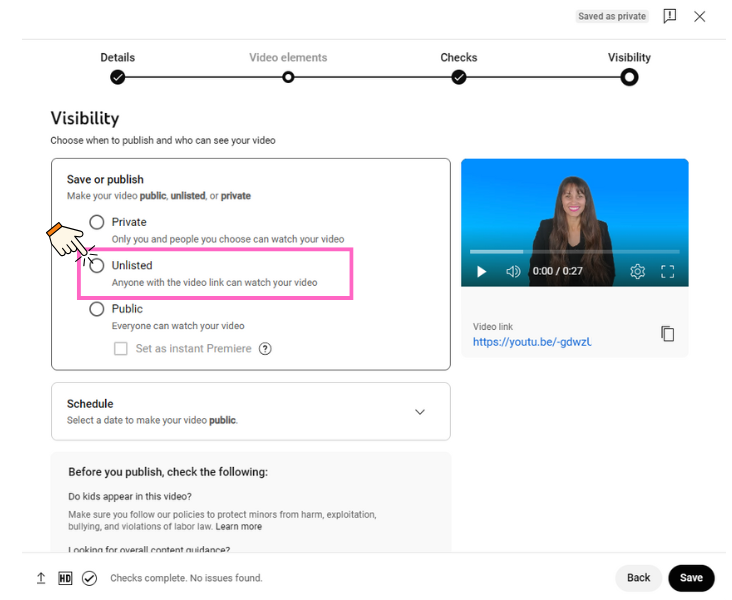
If you are using a video sharing site like YouTube or Vimeo to provide a link to your self-tape, be sure to check the box “Unlisted” during upload and before publishing it. Do not mark it as public or private. The private video setting does not allow anyone to view it, and the client needs to see it too.
Some scripts are copyrighted so it’s important that you do not mark your self-tape video as ‘Public’.

6. Don’t Forget the Deadline
Don’t be late or submit after the submission deadline. It’s best practice to submit as early as possible, as long as it doesn’t diminish the quality of your self-tape. Don’t rush it. Really consider giving your best audition. You’re in it to win it.
Final Thoughts About How To Get An Agent
Yes, this sounds like a lot, but mastering these dos and don’ts will set you apart. The best self-tapes come from actors who pay attention, listen to instructions, and continuously refine their craft. Confidence is key, and that confidence grows as you practice and understand the expectations.
These steps, combined with your acting and scene study training, will elevate your self-tapes and get them in front of decision-makers. Over time, you’ll build trust with casting directors, and that trust can open doors to future opportunities.
So, get out there, follow these guidelines, and deliver your best self-tape every time!












0 Comments